


Building a Home Mobility Routine for Pain Relief
Last Updated: November 15, 2026
Quick Summary
A home mobility routine is a short daily set of gentle joint and muscle movements that can ease stiffness and keep your range of motion. Build it in four steps: assess your starting range, choose movements that suit you, sequence them into 10 to 15 minutes, and progress slowly. Stop and seek advice if sharp or worsening pain occurs.
Warm up for about 2 minutes, then move joints for about 4 minutes.
Hold stretches for 20 to 30 seconds while breathing steadily.
Aim for 8 to 12 controlled reps on activation exercises.
Progress only one variable at a time, once a level feels comfortable for a week.
Stop and seek advice for sharp, shooting, or worsening pain, or numbness and tingling.
Table of Contents
Why a Home Mobility Routine Can Ease Pain and Stiffness
Stiffness often builds up when your body spends long periods in one position, and a short daily routine can help you move more freely. A home mobility routine gives you a practical way to keep joints moving and muscles loosened between sessions. (Source: Australian Government Department of Health and Aged Care physical activity guidelines)
Mobility work aims to move joints through their full, comfortable range. It does not aim to force a joint further than it wants to go. Over time, regular gentle movement can make everyday tasks feel easier.
Here is what a home routine can help with:
Reduced stiffness after long periods of sitting or standing
Better range of motion in the neck, shoulders, hips and spine
Improved confidence when moving after an injury
Fix My Muscles uses the MARS approach (Mobility, Activation, Release and Stretch), a structured treatment philosophy that combines hands-on treatment with mobility, activation, release and stretching strategies based on your needs.
Check Safety First: Pain Warning Signs and Contraindications
Before you start any routine, know when to stop and when to get help. Mild stretching or a dull ache that eases within a few minutes is usually fine.
Stop the exercise and speak to a qualified health professional if you notice: Read our frequently asked questions for more answers about safety and what to expect.
Sharp or stabbing pain during a movement
Numbness, tingling or weakness in an arm or leg
Pain that keeps getting worse over several days
Some situations need a medical check before you start, such as recent fractures, unexplained weight loss, night pain that wakes you, or a history of cancer or infection in the area.
Pain-Specific Contraindications: What to Avoid for Different Pain Types
Generic warning lists are a start, but the movements that help one type of pain can aggravate another. Use this guide to match your routine to your pain pattern. If you are unsure which pattern fits, err on the side of caution and seek an assessment.
Sciatica (pain radiating down the leg)
Avoid deep forward folds, long-held seated hamstring stretches and aggressive hip flexion if they reproduce the shooting leg pain.
Avoid sitting cross-legged or on a soft low chair for long periods.
Movements that often feel safer: gentle lying knee-to-chest on one side, supported bridges, and short walks. If pain travels further down the leg or below the knee, stop and seek advice.
Lower back strain (localised ache, no leg symptoms)
Avoid end-range spinal extension (cobra, standing backbends) in the first few days if it sharpens the pain.
Avoid heavy lifting or twisting under load.
Movements that often feel safer: cat-cow within a comfortable range, pelvic tilts, and gentle glute activation. A dull ache that settles is acceptable; sharp pain is not.
Neck pain with arm tingling or numbness
Avoid full neck circles, prolonged end-range rotation, and any movement that reproduces pins and needles in the hand.
Avoid overhead pressing or heavy carrying until symptoms settle.
Movements that often feel safer: chin tucks, gentle shoulder blade squeezes, and supported thoracic extension over a rolled towel.
Knee pain (osteoarthritis or patellofemoral pain)
Avoid deep squats, lunges past 90 degrees, and high-impact jumping if they cause joint-line pain or swelling.
Avoid locking the knee fully straight under load.
Movements that often feel safer: seated knee extensions, shallow sit-to-stand, and glute bridges. Some discomfort during movement is common; sharp pain or swelling afterwards is a signal to regress.
Shoulder pain (rotator cuff or impingement-type pain)
Avoid overhead pressing, behind-the-neck movements, and painful end-range elevation.
Avoid sleeping on the affected side if it worsens morning pain.
Movements that often feel safer: pendulum swings, supported scapular retraction, and isometric holds at pain-free angles.
Watch out: If a movement sends pain further away from your spine (for example, from the back into the foot), stop and seek advice before you continue.
The Psychological Barrier: Fear of Movement (Kinesiophobia)
Many people in chronic pain develop a fear of movement, sometimes called kinesiophobia.
A home routine can gently reintroduce movement in a way that feels safe. Some general strategies include:
Start below your pain threshold. Choose a range that feels easy, not challenging. The goal is to teach your nervous system that movement is safe.
Use graded exposure. Pick one feared movement (for example, bending forward) and practise a tiny version daily, gradually increasing range only when the previous step feels comfortable for several days.
Separate soreness from harm. Mild soreness that settles within 24 hours is usually a sign of adaptation, not injury. Track it in a note so you can see the pattern.
If fear of movement is significantly affecting your daily life, a professional assessment can help identify which movements are safe to reintroduce and which need modification.
Remember that this article gives general information only. It does not replace a diagnosis or a plan from a qualified professional.
Step 1: Assess Your Starting Range of Motion
Before you build a routine, take a simple baseline. This helps you see what is improving and shows you which movements feel tight or painful.
Try these quick checks, moving slowly and stopping before any sharp pain:
Neck: Turn your head to the left and right. Note how far you can go and whether it feels even on both sides.
Shoulders: Raise both arms overhead. Notice any catching, pinching or uneven height.
Hips: Sit on a chair and cross one ankle over the opposite knee. Lean forward gently and note the stretch.
Lower back: Stand and reach your hands toward your knees. Only go as far as feels comfortable.
Write down what you find. A simple note such as "left shoulder stops at shoulder height, right reaches overhead" gives you a clear starting point. Repeat the same checks every two to four weeks to track progress.
Step 2: Choose Mobility Exercises for Chronic Pain
Choose movements that match where you feel stiff or sore. Focus on controlled, gentle motion. Avoid any exercise that causes sharp pain.

A balanced starting set might include:
Cat-cow: Moves the spine through flexion and extension
Thoracic rotations: Opens the upper back
Hip circles: Loosens the hip joint
For chronic pain, start with a small range and build slowly. Hold each position for about 20 to 30 seconds and breathe steadily. Slow breathing helps your nervous system settle and can make movement feel more comfortable.
Seated and Low-Load Options
If standing or lying on the floor feels too hard, try these seated versions:
Seated spinal twist: Sit tall and rotate gently to each side
Seated neck rotations: Move the head slowly, without rolling it backwards
Seated knee lifts: Lift one knee at a time, controlling the lowering
Low-load options suit people who are newly returning to activity, feel fearful of moving, or find that pain flares easily. Progress only when a movement feels consistently easy.
Step 3: Build a Daily Mobility Routine for Stiffness
Once you have chosen your movements, put them together into a short daily sequence. Aim for about 10 to 15 minutes. A simple order works well:
Warm up (2 minutes): Marching on the spot or gentle arm swings to raise your body temperature
Mobilise (4 minutes): Joint movements such as cat-cow and hip circles
Activate (3 minutes): Light strength work, such as glute bridges, to support the joints
Stretch (4 minutes): Hold gentle stretches for the areas that feel tightest
Resistance loops can help you build strength and joint stability as your routine progresses. You can compare the resistance levels available to choose the right starting band. Start with the lightest resistance you can control.
Keep the routine simple enough that you will repeat it. A short routine you do every day usually beats a long one you do twice a week.
Step 4: Set Frequency, Hold Times and Progression
Most people do well with a short routine on most days of the week. Daily practice helps keep stiffness from building up, but rest days matter too, especially if you feel sore.
Use these general guidelines:
Frequency: Once or twice a day, or most days of the week
Hold time: 20 to 30 seconds for stretches, with steady breathing
Repetitions: 8 to 12 controlled reps for activation exercises
Progressive Overload for Mobility: How to Actually Improve
Most guides tell you to do the moves but not how to progress them. Without progression, range of motion plateaus and functional improvement stalls. The principle is the same as strength training: gradually increase the demand on your body so it adapts.
Progress one variable at a time, and only when the current level has felt comfortable for at least a week:
Range: Increase how far you move into the stretch by a small amount (a few centimetres or a few degrees).
Hold time: Add 5 to 10 seconds to a stretch, up to about 45 seconds.
Repetitions: Add 2 reps to an activation exercise, up to about 15.
Control: Slow the movement down or add a pause at end-range before increasing load.
Resistance: Add a light resistance band only after bodyweight control is consistent.
A simple weekly progression might look like this:
Week 1: 2 sets of 8 reps, comfortable range, 20-second holds
Week 2: 2 sets of 10 reps, same range, 25-second holds
Week 3: 3 sets of 8 reps, slightly increased range, 25-second holds
Watch out: Avoid increasing range, hold time and resistance in the same week, as changing too many variables at once makes it harder to tell what caused a flare-up.
Tracking and Flare-Up Management
Track your routine in a notebook or phone note. Record how you feel before and after, and any changes in your baseline checks from Step 1.
If pain rises the day after exercise and stays up for longer than a day or two, scale back. A common pattern is to drop to the previous week's level for three to five days, then resume progression more slowly.
Building the Habit
Consistency matters more than duration. A short routine you do every day usually beats a long one you do twice a week. Try these practical anchors:
Attach the routine to an existing habit, such as after your morning coffee or before your evening shower.
Keep equipment visible, a resistance band on a door handle or a towel rolled beside your chair.
Use a two-minute rule on low-motivation days: commit to only the warm-up, and stop if you still do not want to continue.
For evidence-based guidance on physical activity and pain, see Physical activity guidelines and Exercise and chronic pain.
The article sets out the core frequency, hold and repetition guidelines in a quick-scan format:
Setting | Guideline | Note |
Frequency | Once or twice a day, or most days | Rest days matter if sore |
Hold time | 20 to 30 seconds | Breathe steadily |
Repetitions | 8 to 12 controlled reps | For activation exercises |
Intensity | Mild to moderate stretch | Never sharp pain |
Progression step | Add 5 to 10 seconds to holds | Up to about 45 seconds |
Rep increase | Add 2 reps | Up to about 15 |
Booking Your First Assessment at Fix My Muscles
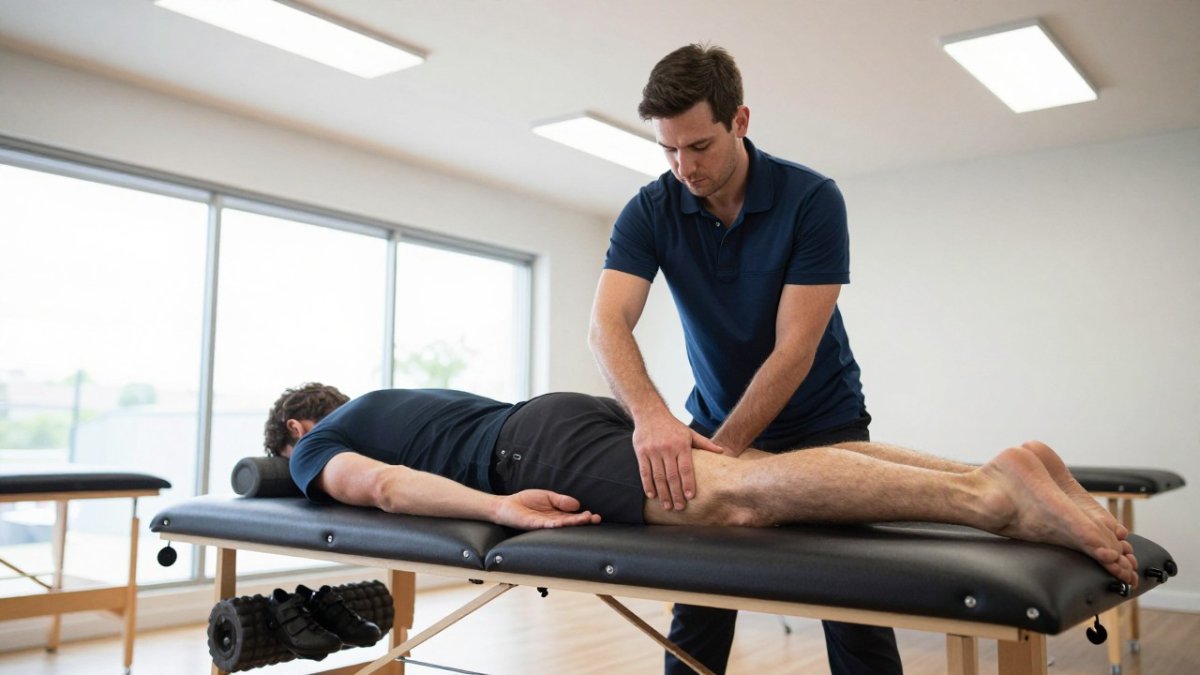
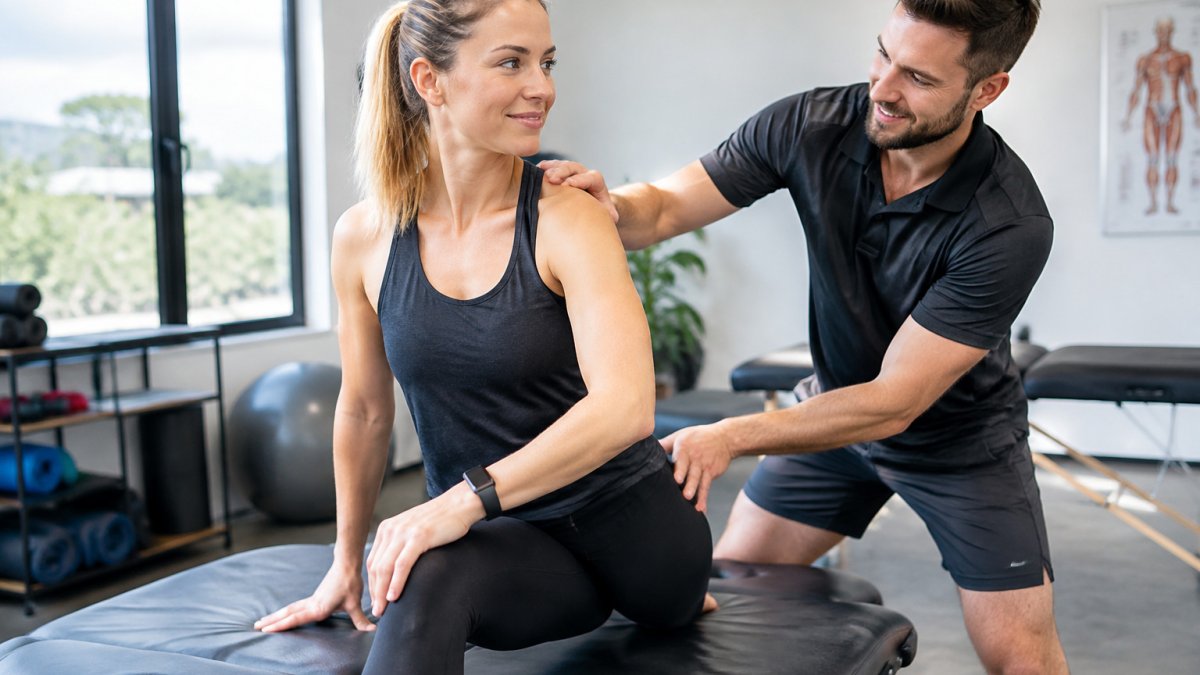
A home routine works best alongside professional guidance, especially if your pain has lasted for a long time or you have tried other treatments without much change.
If you want a structured start, book online to arrange your first assessment. Bring a list of the movements that cause you trouble and any notes from your baseline checks. This helps us tailor your treatment and home routine from day one.
Frequently Asked Questions
How often should I do mobility exercises for pain relief?
Many people start with short sessions on most days of the week, and build from there as their body tolerates it. Consistency tends to matter more than intensity. Stop any movement that sharpens pain or causes symptoms that linger beyond a day. If pain is persistent, worsening or affecting sleep, arrange an assessment with a qualified professional before continuing to adjust the routine yourself.
What is the difference between stretching and mobility work?
Stretching usually holds a muscle at a fixed length to lengthen it, while mobility work moves a joint through its available range, often with controlled, repeated movement. Mobility work also tends to include activation and control, so you can use the range you gain. A home routine often combines both, with mobility drills first and stretches held afterwards when they feel comfortable.
How do I know if a mobility exercise is safe for my condition?
Start with small ranges and low effort, and check how you feel within 24 hours. Mild, temporary discomfort within your usual range is different from sharp, shooting or worsening pain. Avoid forcing end range, and skip any exercise that causes numbness, tingling or new swelling. Because contraindications vary between individuals, speak with a qualified health professional before starting if you have a recent injury, a diagnosed condition or are pregnant.
How long does it take to see improvements in joint mobility?
Changes in how far a joint moves can often be noticed over several weeks of regular practice, though the timeline varies with the person, the cause of the stiffness and how consistently the routine is followed. Track simple markers such as how far you can reach or how long you can sit comfortably. If progress stalls, or pain is not settling, book a professional assessment to review your approach.

Comments